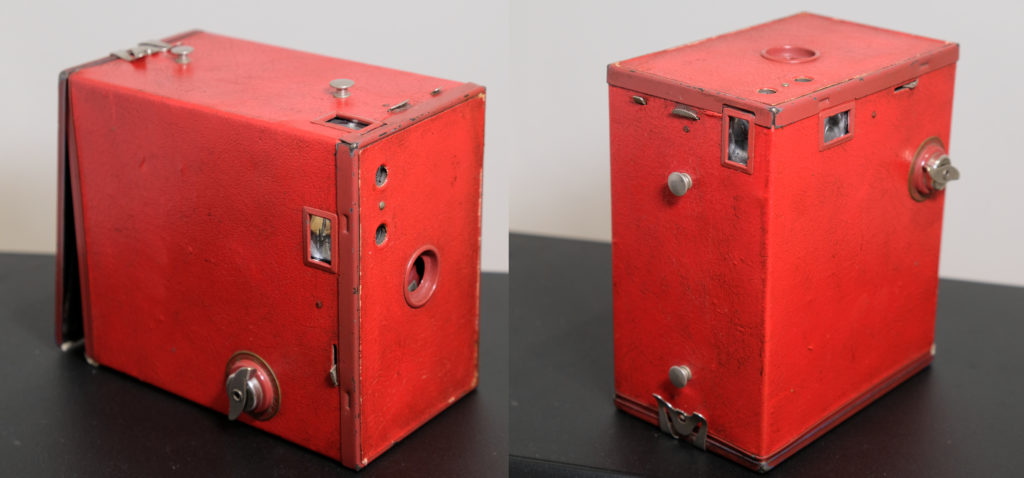
Specs
| Film Format | 116 (Can be adapted to 120 or 135) |
| Focal length | 127 mm |
| 35mm equivalent | 45 mm |
| Aperture | f15, f18, f24 |
| Shutter speed | 1/15 s and ‘T’ mode |
| Image size | 6 x 11 cm |
| Diagonal | 125mm |
| Angle of view | 53 degrees |
About the camera
The original manual doesn’t provide technical specs, only vague descriptions like sunny day, cloudy day, and long exposure never use!!! The specs above are based on the best measurements I could make.
I’ve seen people try to sell these for $50 since they are antiques. You should be able to get one for under $20 or so.
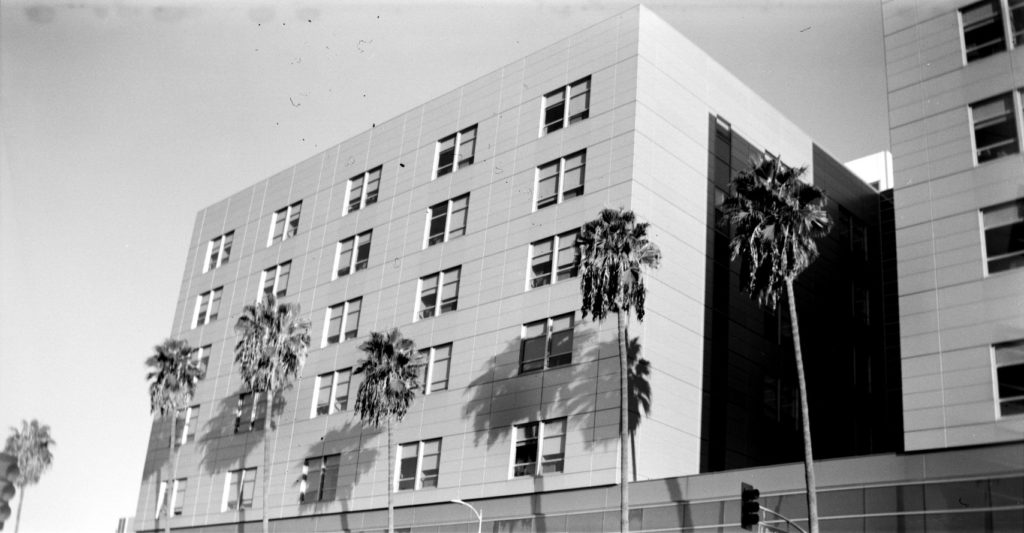
Image quality can be great, provided that you take some of its limitations into consideration.
How to load
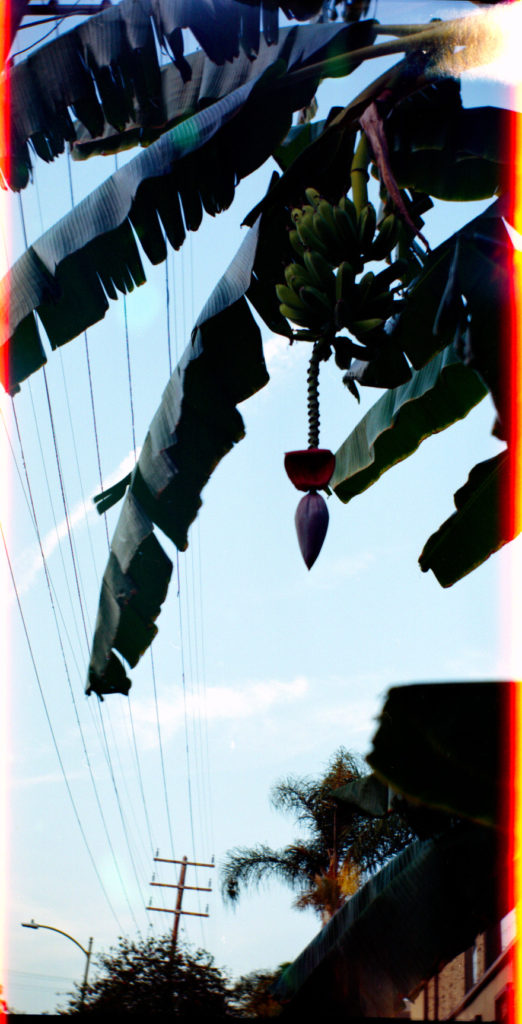
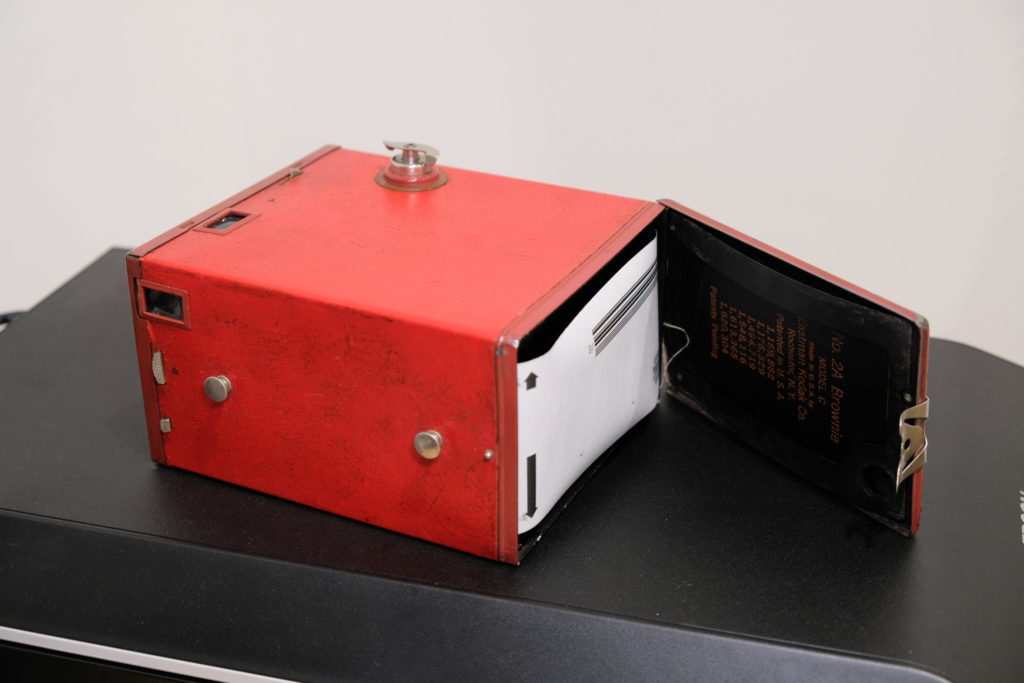
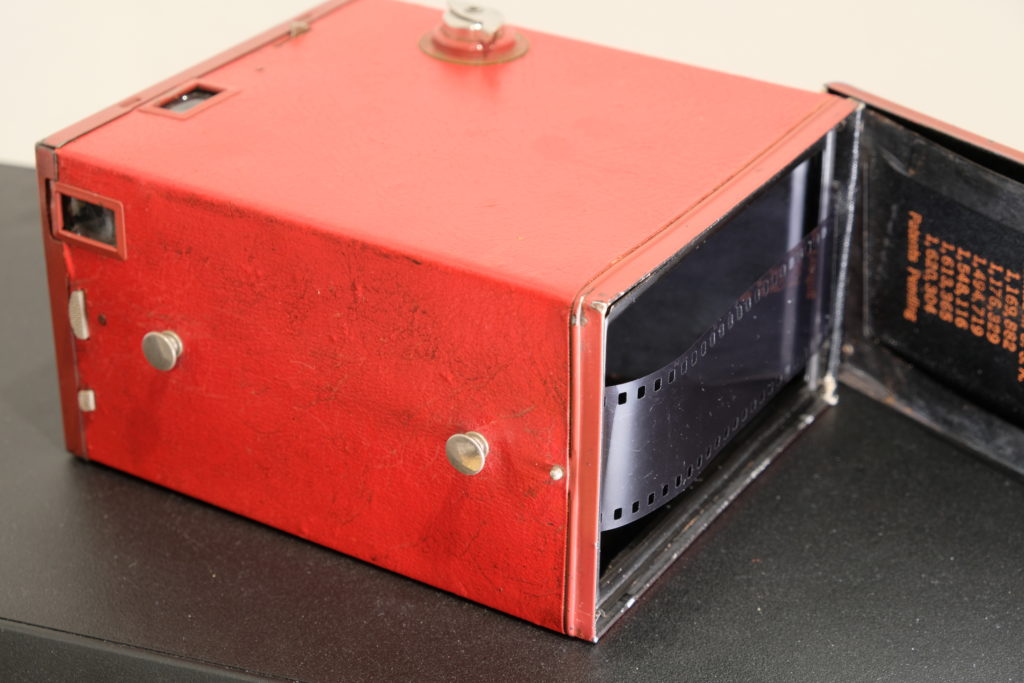
These cameras often have an old 116 METAL film spool in them from the last time they were used. You might have success unspooling 120 film onto it but odds are it will be crooked and leak light around the edges (see above).
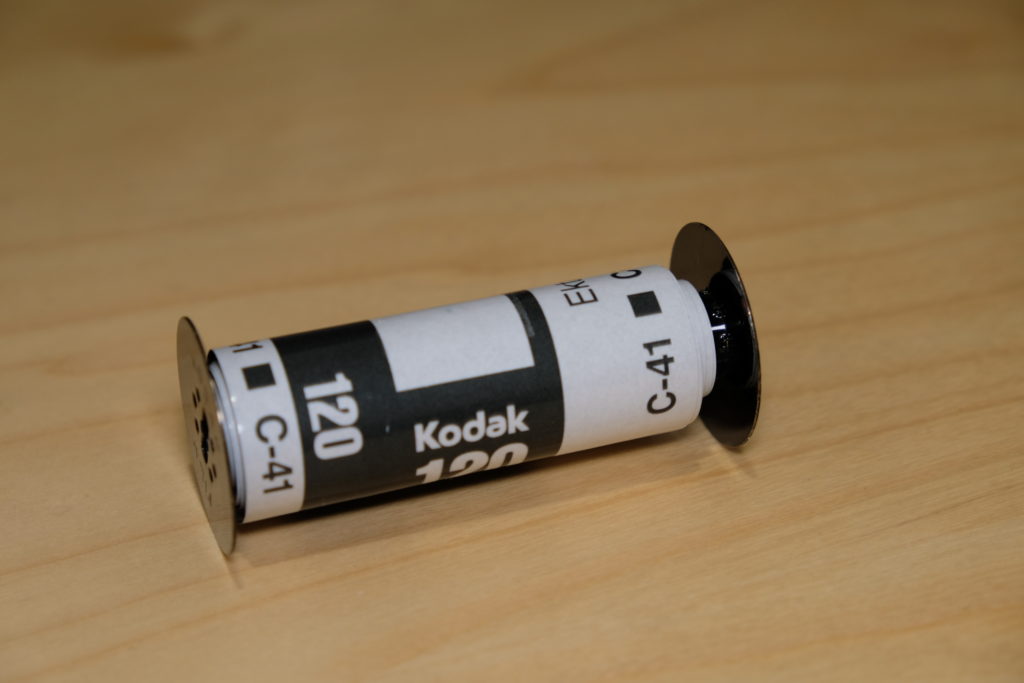
For best results get 120 to 116 adapters. I got mine from Holgamods.
120 Film
You can open the camera up by pulling the metal tab on the bottom.
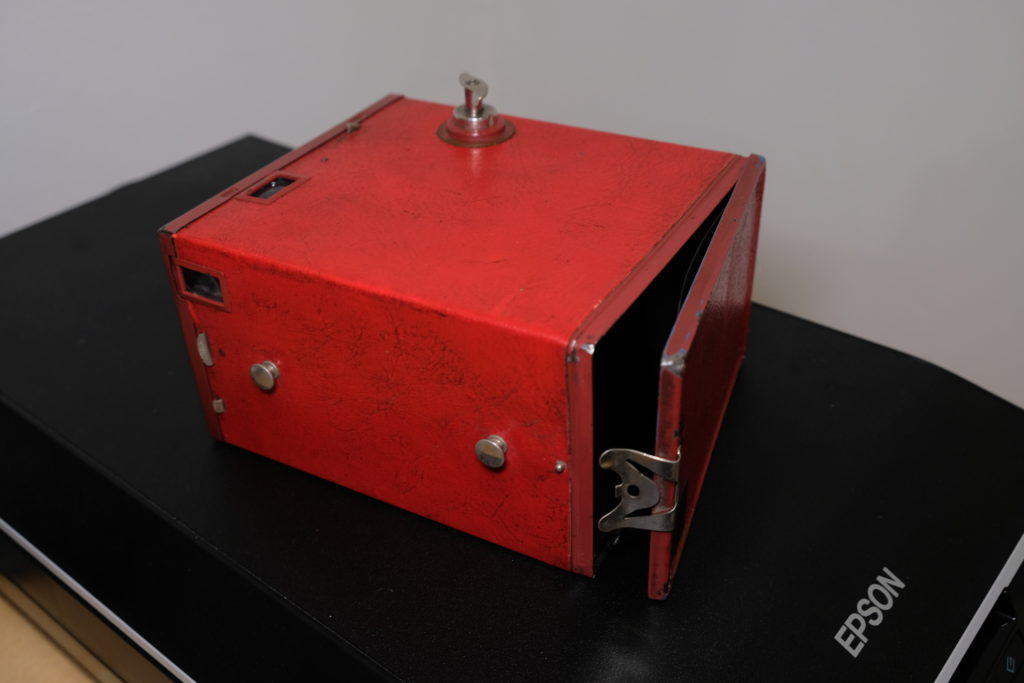
Pull the metal winding key out a bit (be gentle) and the metal film holder should come out fairly easily.
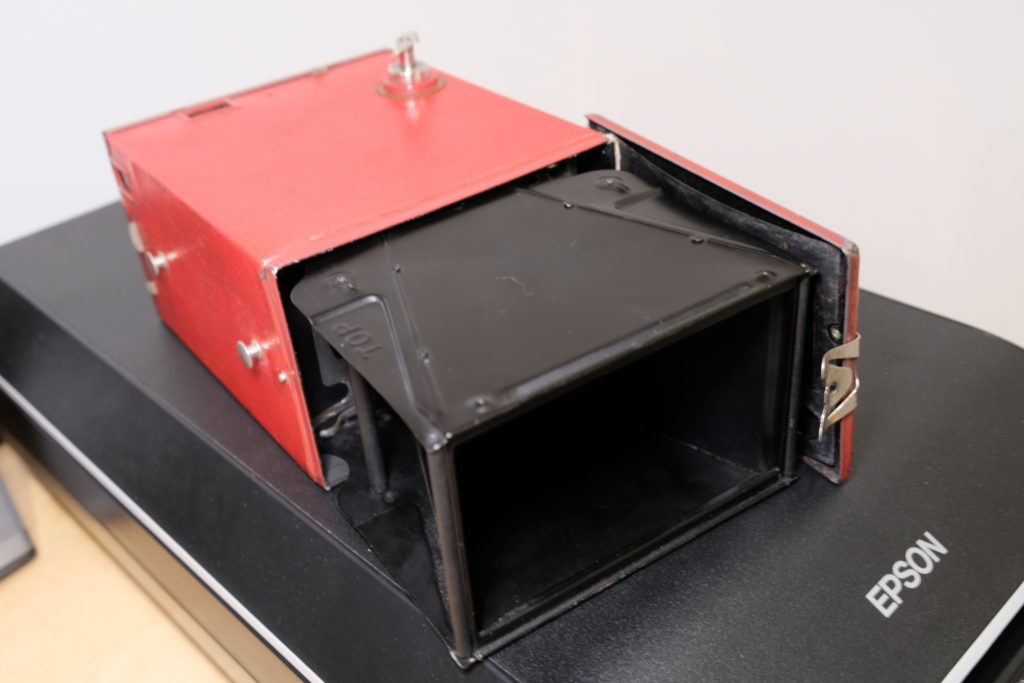
The part marked “top” is where the full roll of film gets put. The other side is where the the empty spool catches the winding key.
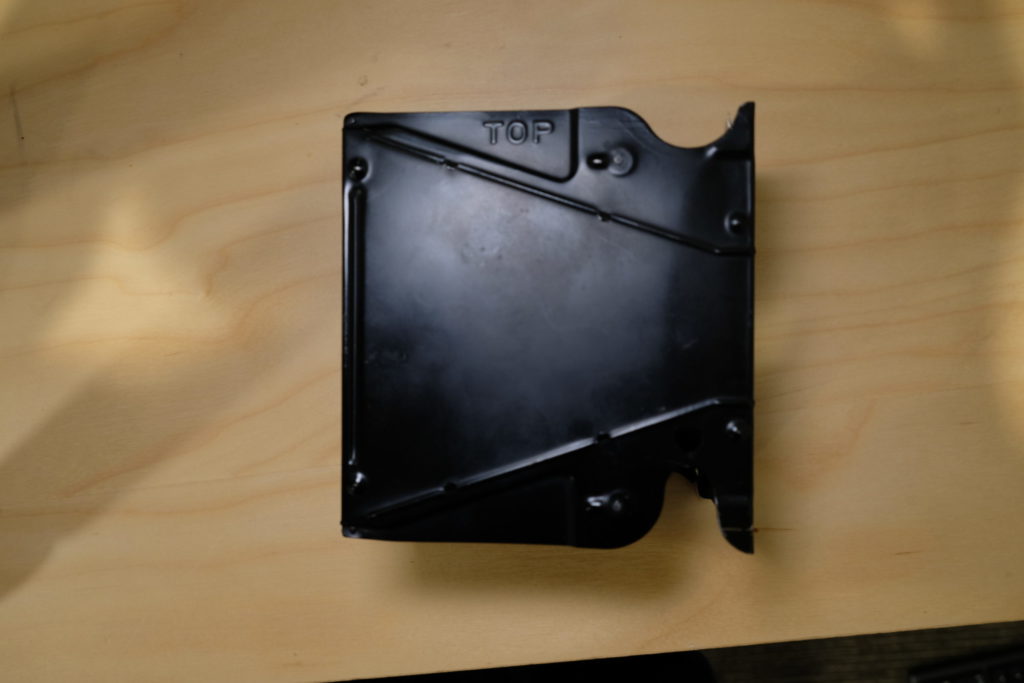
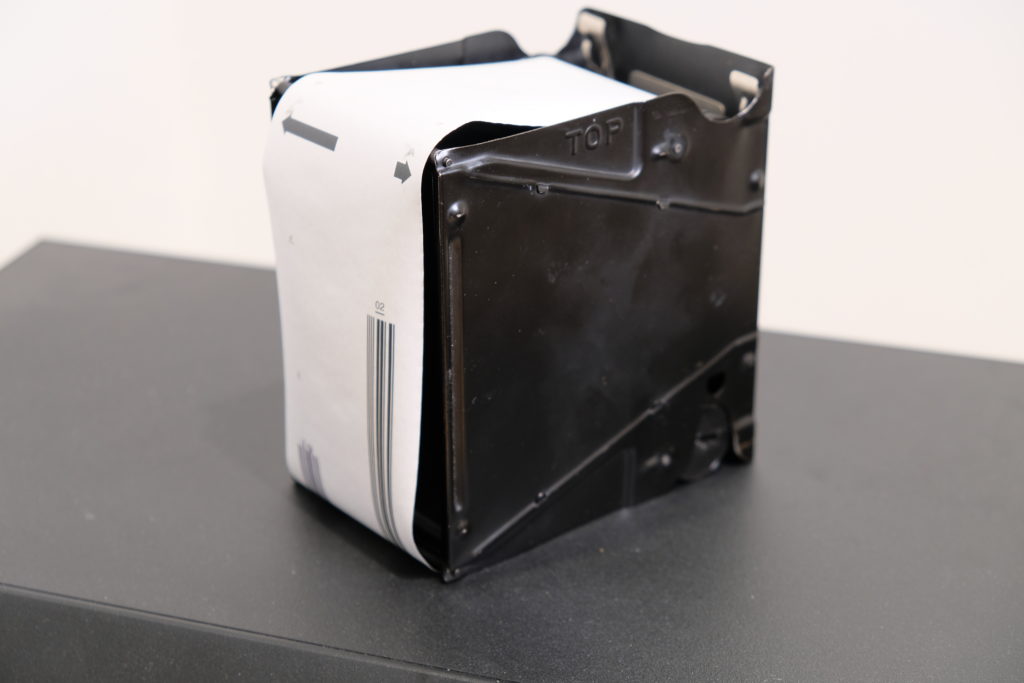
Getting the film holder into the camera without any of the rolls falling out is kind of tricky. After that you’ll have to get the winding key fit into the empty spool. It might take a few attempts. If it doesn’t work, pull the winding key out, turn it a bit, and try again.
135 Film
Loading 135 film is actually much easier if you can get a 116 film spool and some tape. The 116 holder fits quite snugly into the camera and the winding key finds its way in pretty quickly. If you have some spare film, you can save some unexposed film during the loading process and squeeze out an extra frame or two.

How to shoot
There are two waist level view finders, one landscape and one portrait. They are neat a system of mirrors and lenses that make everything backwards.
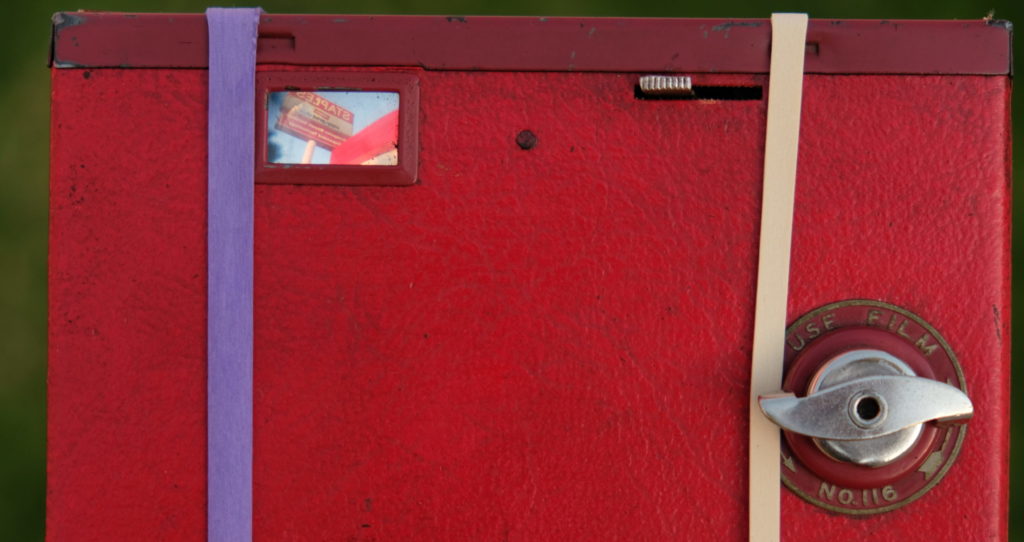
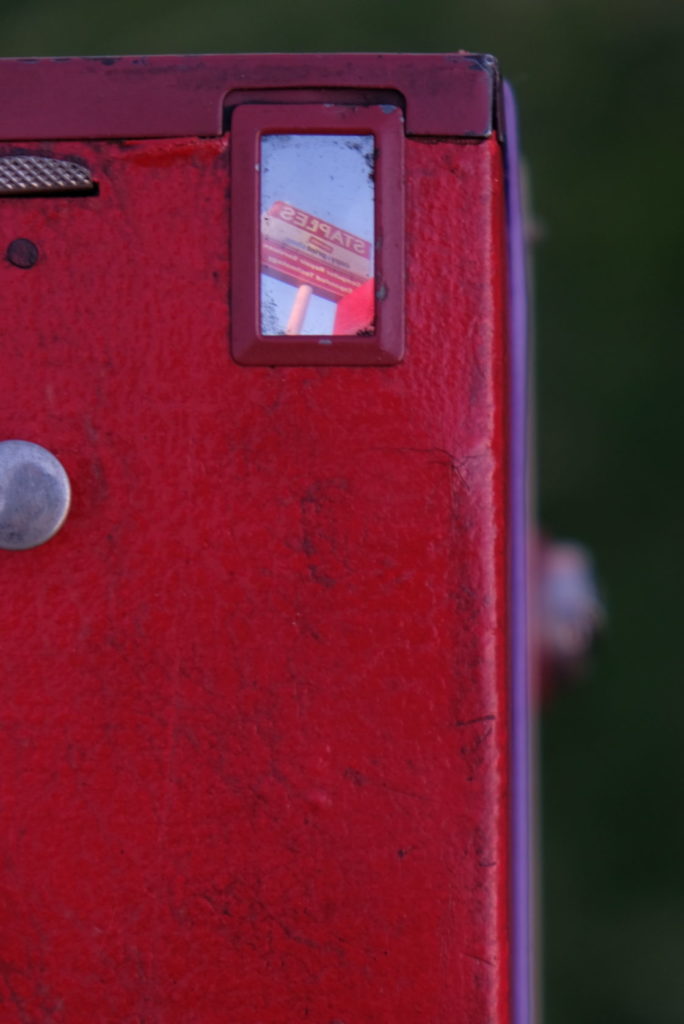
Once you get used to it, it’s an interesting way to compose your image. I find the small viewfinder helpful; if the image isn’t compelling in that little window, it probably won’t make a good photo.
The shutter is a lever that you can turn with your thumb.
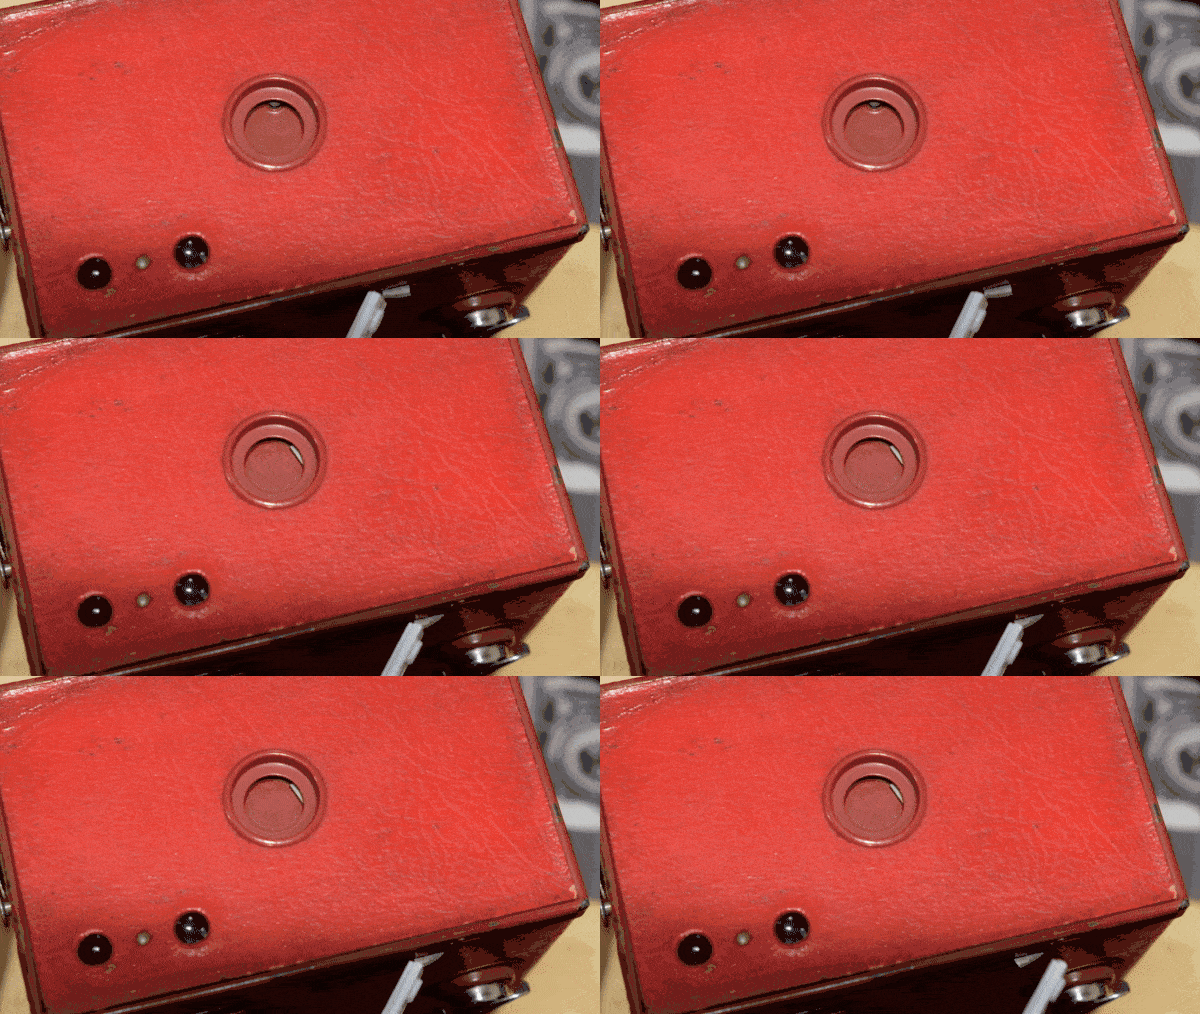
“T” or long exposure mode can be activated by first pulling out another tab and activating the shutter. Pushing the tab back will close the shutter again.
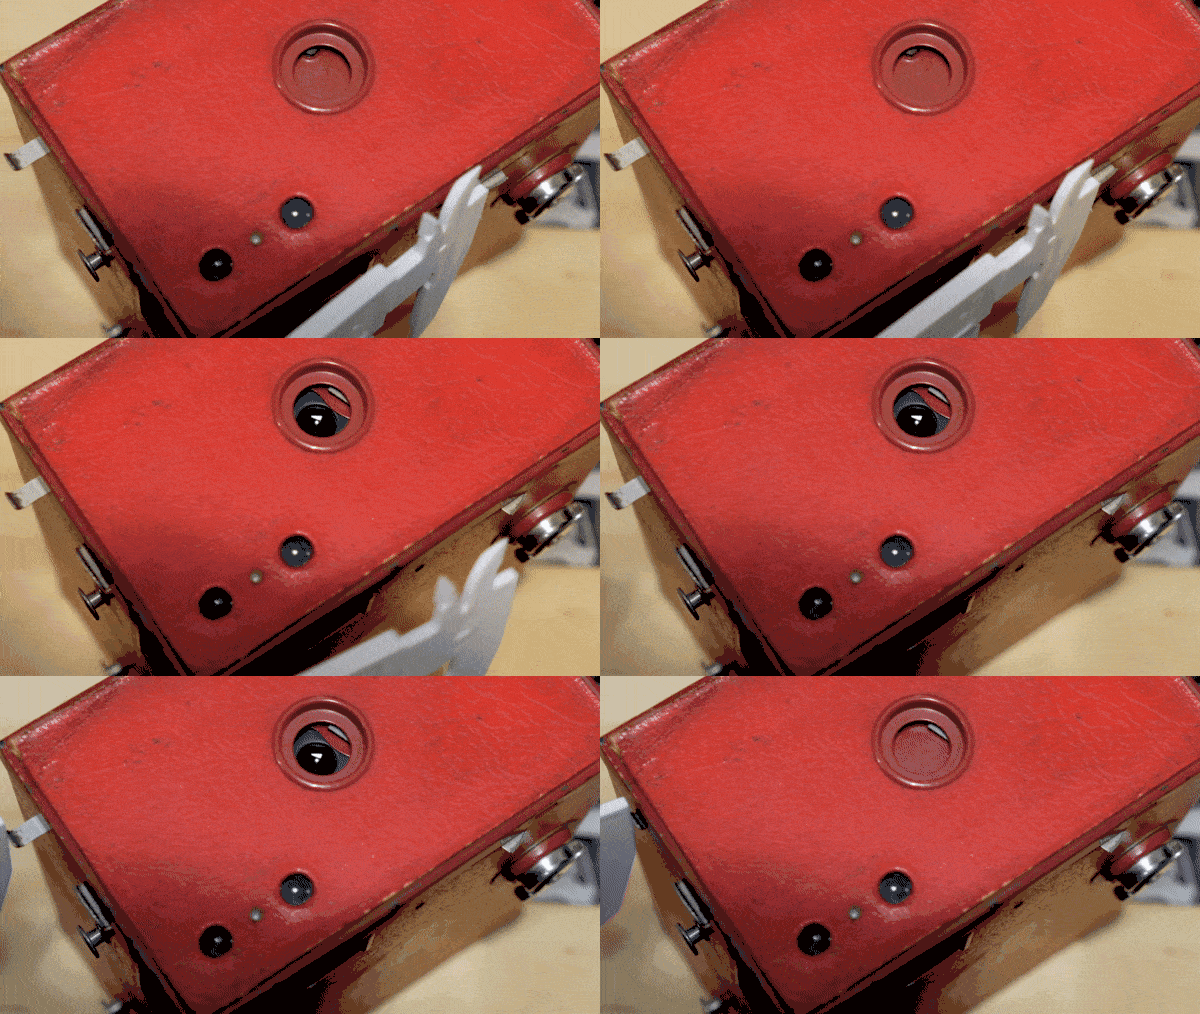
Aperture can be set by pushing/pulling a tab.
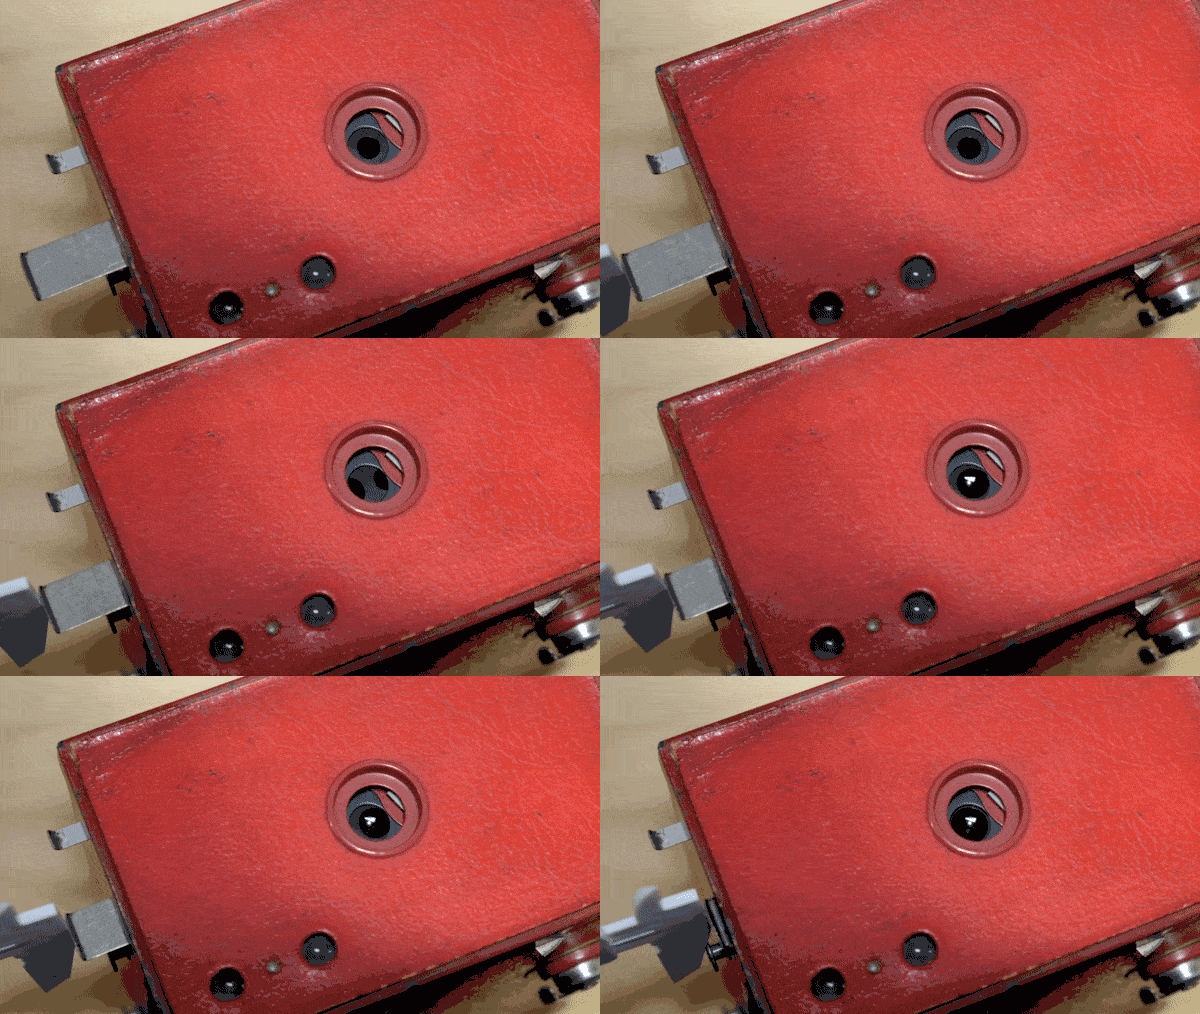
This camera was built when film speed was low so think twice before going out into harsh afternoon light with film like Portra 400.
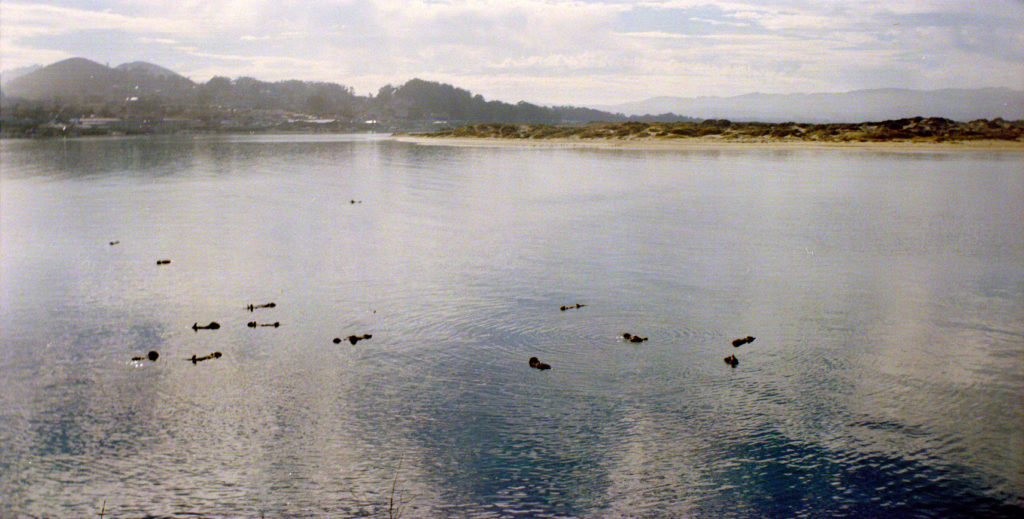
These sea otters might look okay to you but I had to work some extreme demon magic with my scanner to get so-so results from this poor sun blasted film.
With a shutter speed of 1/15s, even at f24 you’ll be about 4 stops over exposed. It works okay in a pinch (like when you see a bunch of sea otters hanging out in the seaweed) but you can save yourself a lot of grief and disappointment by waiting for a good exposure. That means low speed film, looking for shadows, or waiting for the evening.
Final thoughts
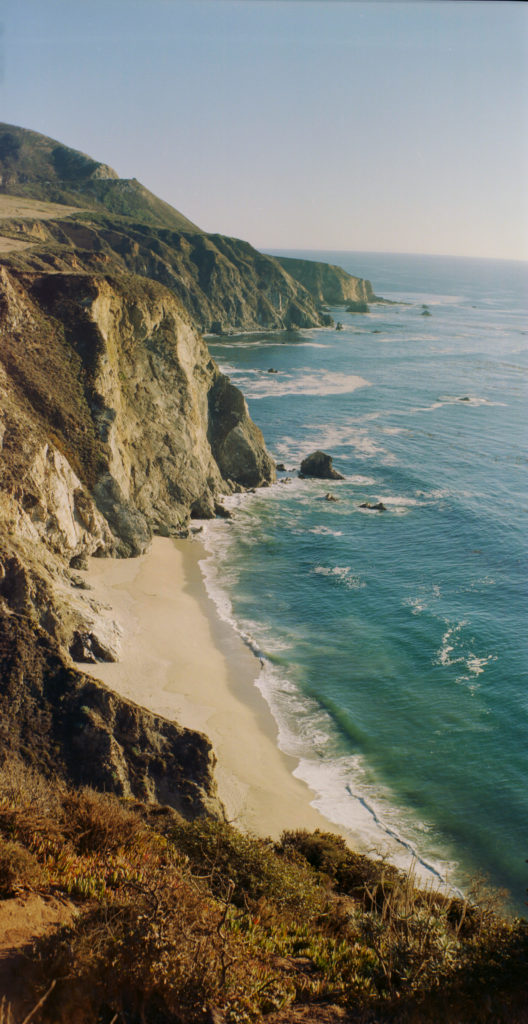
Other than loading, this camera is easy to use and a lot of fun. The images are huge so you get the “film look” without the grain. If you can find one for under $20, pick one up.

